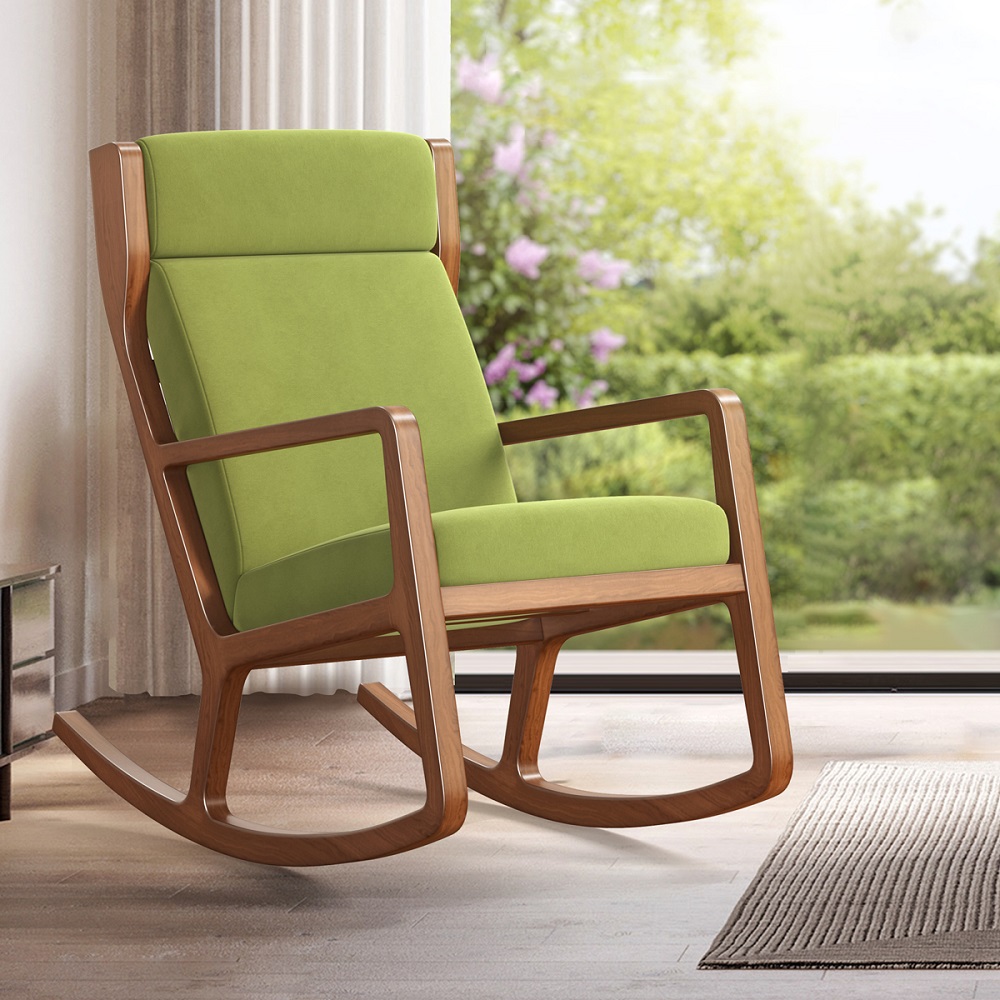
Building your own rocking chair can be a rewarding woodworking project that adds a personal touch to your home decor. Not only do rocking chairs offer a cozy space for relaxation, but they also create a nostalgic ambiance reminiscent of childhood memories. This guide will walk you through the steps to design and build your own rocking chair, helping you create a piece that complements your style and fits beautifully into your living space. Let’s dive in and start crafting your perfect cozy retreat!
Choose the Right Design for Your Needs
Consider Your Style Preferences
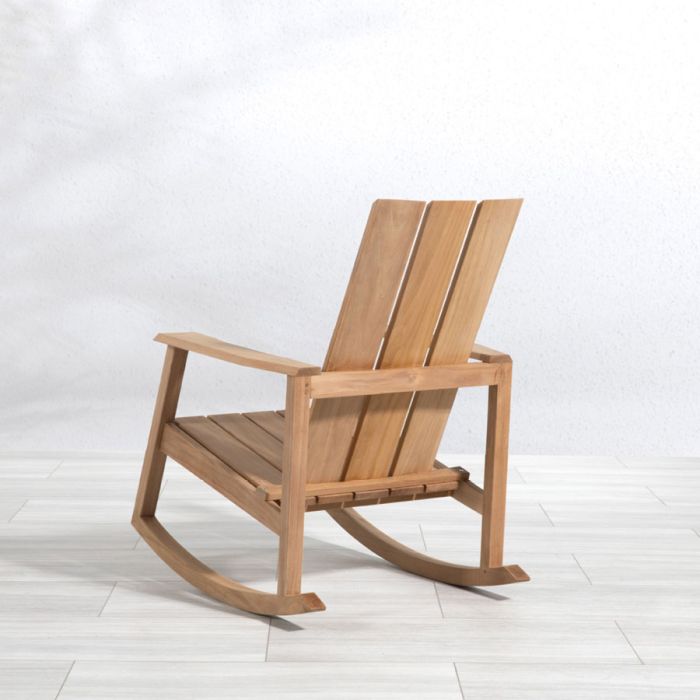
Before you start gathering materials and tools, take some time to consider the design of the rocking chair that suits your aesthetic. You can create a classic Adirondack-style rocking chair or go for a more modern look with sleek lines and minimalist design. Browsing through woodworking magazines and online platforms like Pinterest can provide inspiration.
Think about where you plan to place the rocking chair in your home. Do you want it on a porch, in a nursery, or as part of a living room ensemble? Your space will influence the style you choose, so consider factors like color, materials, and overall design. Making these decisions early on will ensure that your rocking chair not only fulfills its purpose but also adds to the beauty of your space.
Sketch Your Ideas
Once you have an idea of the style you want, sketch your design. This doesn’t have to be a perfectly detailed drawing but should include the basic dimensions and features of the chair. Noting down seat height, backrest angle, and armrest width can help guide your building process. Drawing a rough layout will give you a clearer picture of how the final piece will look.
Creating a visual guide will also assist you in figuring out how to assemble the various parts of the chair. Consider dimensions that provide a comfortable seating experience. If necessary, you can create prototypes with cardboard to visualize the chair and refine your design before working with wood.
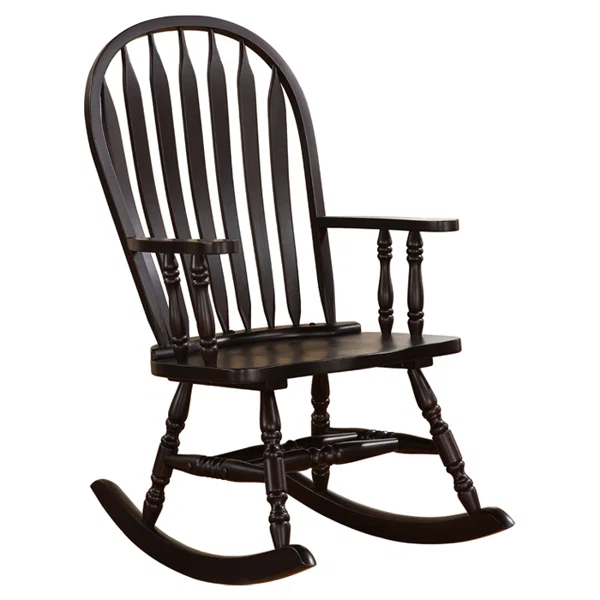
Gather Materials and Tools
Essential Materials
Once you finalize your design, it’s time to gather your materials. The primary material for rocking chairs is wood. Common choices include oak, pine, maple, or birch. Each type has its own aesthetic and durability features. Oak is sturdy and attractive, while pine is lighter and more economical. Choose the wood that aligns with your preferences and budget.
In addition to wood, consider purchasing screws, wood glue, and sandpaper to help with assembly and finishing touches. You may also choose to finish your chair with wood stain or paint to match your decor and protect the surface.
Tools Needed for Construction
Having the right tools makes your project easier and more enjoyable. Essential tools for building a rocking chair include:
- Miter Saw: Ideal for making precise cuts.
- Drill: Useful for drilling holes and driving screws.
- Wood Clamps: Important for securing pieces while the glue dries.
- Sander: To smooth the wood and prepare it for finishing.
- Measuring Tape: Helps ensure accurate measurements.
If you don’t own some of these tools, consider borrowing them or renting from a local hardware store. Using the right tools not only speeds up the process but also enhances the quality of your finished product.
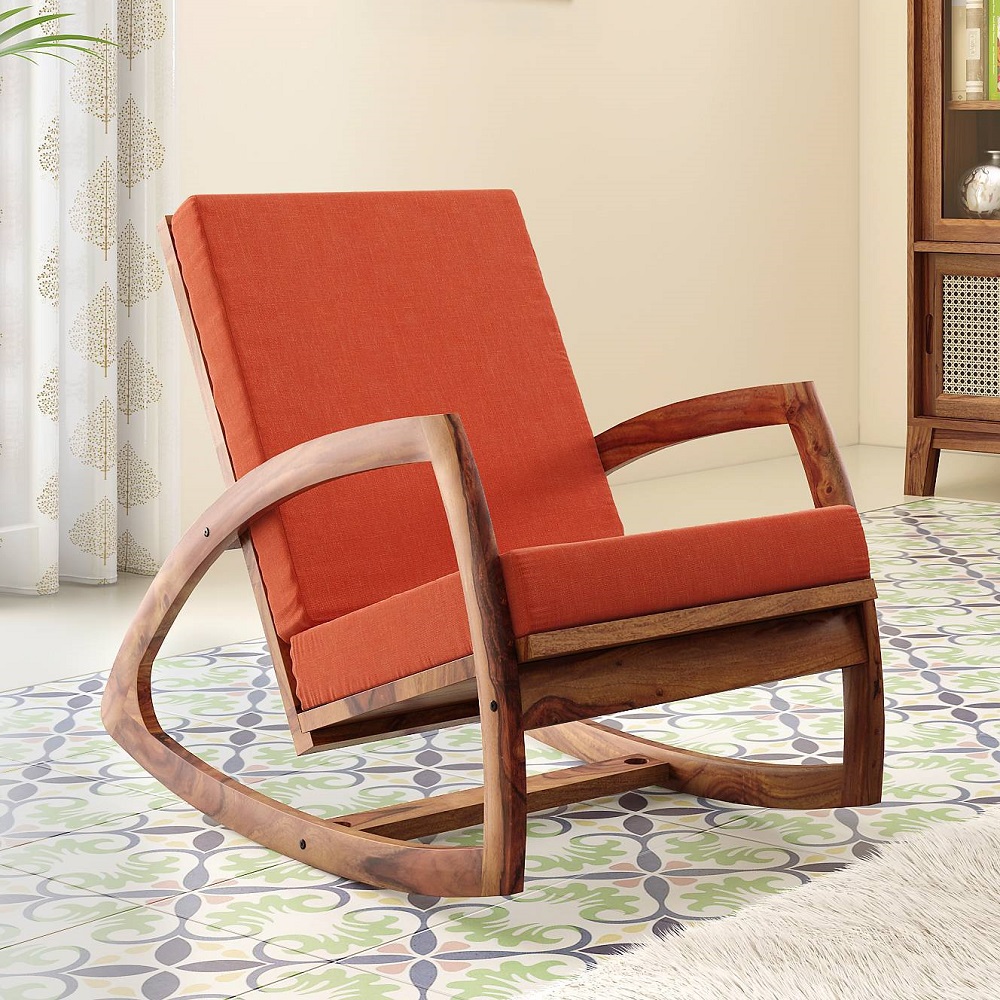
Cut and Prepare the Wood
Measurements and Cutting
With materials and tools ready, it’s now time to cut your wood according to your design specifications. Measure each piece carefully before cutting. Use a miter saw to achieve clean, accurate cuts. Most rocking chairs require pieces for the seat, backrest, arms, and runners, so make a detailed list before you start working.
For example, a typical rocking chair may need:
- Two runners (the curved pieces that allow the chair to rock)
- A seat base
- A backrest
- Two arms
Taking your time at this stage is crucial. Double-check your measurements to ensure you don’t waste any materials and end up with mistakes. Lay out the pieces to visualize how they fit together before moving on to the next step.
Sanding the Edges
After cutting, smooth all edges using sandpaper or a power sander. This step removes splinters and ensures a comfortable feel, especially on surfaces that will be in contact with your skin. Focus on the corners and the edges of each piece. Proper sanding not only enhances comfort but also prepares the wood for finishing.
It’s a good idea to start with a rougher grit and then gradually work your way to finer grit sandpaper. This process will create a professional-looking finish and help the wood accept paint or stain more evenly.

Assemble the Rocking Chair
Building the Seat and Backrest
Now it’s time to assemble the primary components of your rocking chair. Begin by attaching the seat to the side arm supports using wood glue and screws. Make sure everything aligns correctly, as this will determine how stable your chair feels. For added support, consider using extra brackets to reinforce the connections.
Once the seat is securely attached, proceed to attach the backrest. Angle it slightly for comfort, usually around 15-30 degrees. Make sure to pre-drill holes to prevent the wood from splitting and secure it with screws. Once everything is in place, check for any wobbling or looseness; you want your rocking chair to be stable and sturdy.
Attaching the Rockers
Next, attach the rockers to the bottom of the chair. Position them so they allow for a smooth rocking motion. You may need to adjust their angles or cut them to fit your specific design. Secure the rockers using screws, ensuring they are evenly spaced and aligned. It’s important to test the rocking motion before finalizing the assembly to ensure that it glides smoothly without obstacles.
Once the chair feels stable, take a moment to inspect your work. Look for any adjustments needed and ensure that all screws and joints are tightened. A well-constructed chair will provide lasting comfort and support.
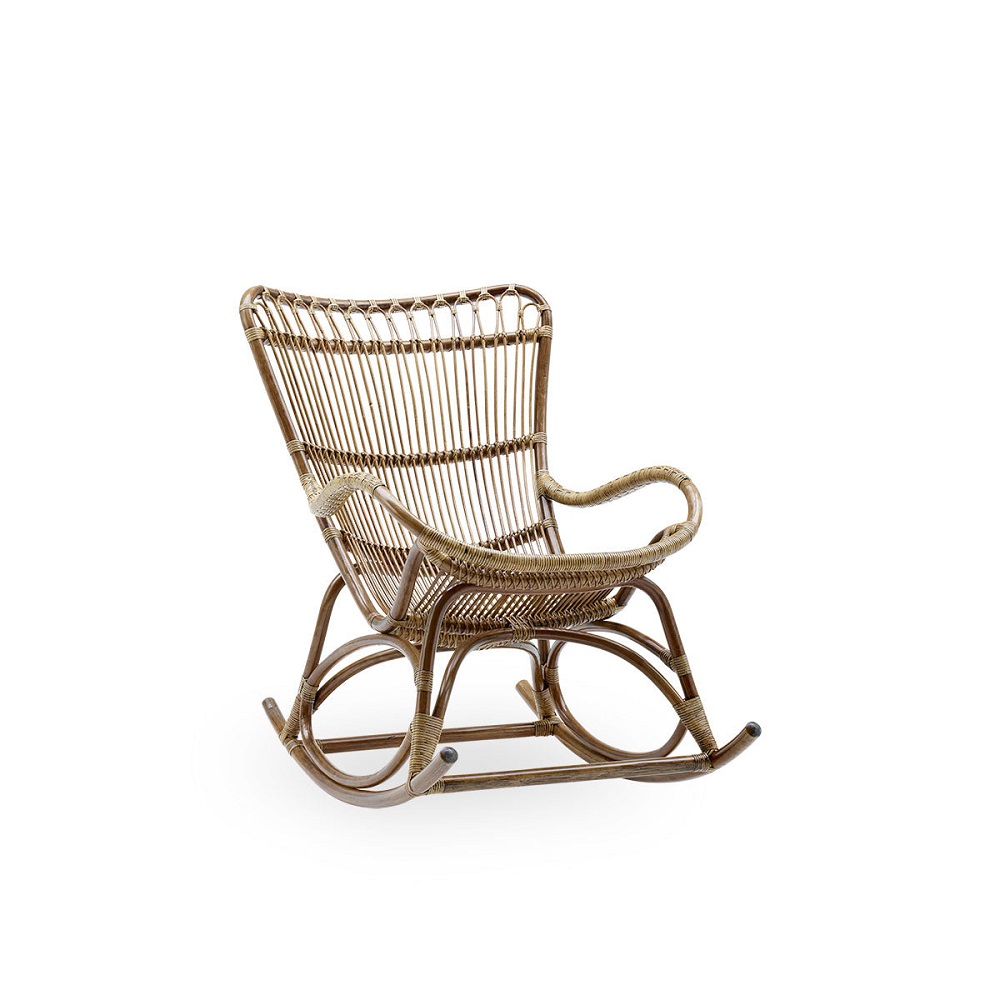
Finishing Touches
Applying Stain or Paint
Now that your rocking chair is assembled, it’s time to add a finishing touch. Depending on your style preference, you can either paint or stain the wood. If you choose to stain your chair, remember to apply a wood conditioner first; this helps ensure even absorption of the stain.
Apply the stain with a brush or rag, following the wood grain for a beautiful finish. Allow the stain to dry according to the manufacturer’s instructions. If painting, use a primer first to prepare the surface, followed by a few coats of your chosen color for full coverage. Remember to allow adequate drying time between coats.
Sealing for Longevity
Once you have achieved your desired look, consider adding a protective sealant to help safeguard against wear and tear. A clear polyurethane coat provides a durable finish while enhancing the beauty of the wood beneath. Apply the sealant according to the manufacturer’s instructions, ensuring even coverage.
Allow the sealant to dry completely before using your rocking chair. This additional step will help maintain the pristine appearance of your new piece while protecting it from moisture and scratches.
Create a Cozy Environment
Accessorizing Your Rocking Chair
Now that you’ve built and beautifully finished your rocking chair, it’s time to turn your new creation into a cozy retreat. Adding cushions and throws can enhance comfort and provide a personal touch. Look for fabrics that complement your decor while offering softness and warmth.
Consider using a lumbar cushion for added support when sitting for extended periods. A soft throw blanket draped over the back adds a welcoming look and comfort during those chilly evenings. Stylish decorative pillows can also be a fun way to play with colors and textures.
Choosing the Right Location
Location is key to maximizing the enjoyment of your rocking chair. Place it in a well-lit area, perhaps near a window, where you can enjoy natural light while reading or sipping on a beverage. Creating a small corner dedicated to relaxation can enhance your living space’s ambiance.
If you have outdoor space, consider making the rocking chair part of a patio or garden setup. A cozy nook outside allows you to enjoy gentle breezes while rocking comfortably under the sun or stars. Think of using your rocking chair as a place for storytelling, reading, or simply enjoying nature.
The Joy of Rocking Chair DIY
A Personal Touch in Your Home
Creating your own rocking chair goes beyond just building a piece of furniture; it allows you to infuse your personality and creativity into your home. The skills you develop throughout the process can serve as the foundation for future woodworking projects. Plus, the satisfaction of seeing your design come to life adds an unparalleled sense of achievement.
Every rocking chair tells a story, especially one that you’ve crafted with your own hands. You’ll likely cherish the time spent building more than the final product itself.
Sharing Your Creation
Don’t hesitate to share your creation with family and friends. Hosting gatherings where your rocking chair is the centerpiece can create memorable experiences. Invite loved ones to sit and enjoy its comfort, and share the journey of how it came to be.
You might even inspire others to take on their own DIY projects. Whether it’s through social media or in person, showcasing your rocking chair can be an inspiring story that encourages others to get creative.
Conclusion
Building your own rocking chair is an exciting and rewarding journey that combines creativity, craftsmanship, and personal expression. From choosing a design and gathering materials to assembling and finishing your chair, each step contributes to creating a special piece that adds warmth to your home.
With careful planning and attention to detail, you’ll create not just a chair but a cozy retreat that invites relaxation. So, gather your tools and materials, roll up your sleeves, and embark on this DIY adventure. Your perfect rocking chair awaits, ready to provide a comfortable haven for relaxation and enjoyment for years to come!
