Planning Your Bathroom Layout
Planning your bathroom layout is a critical first step in the bathroom installation process. A well-thought-out layout ensures your bathroom is both functional and aesthetically pleasing. Start by measuring your space to determine what you can accommodate.
Considerations for Space and Function
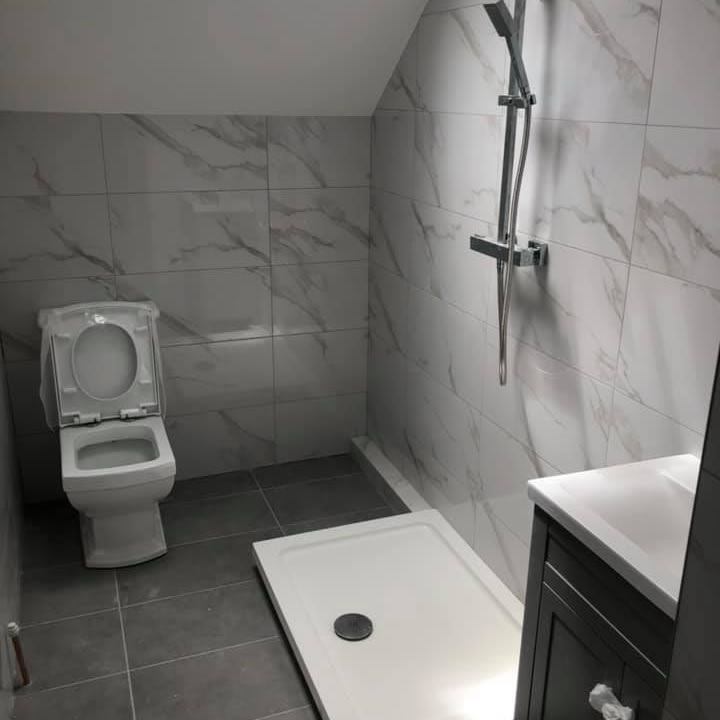
When planning the layout, consider the space and its function. Make sure there is enough room for all essential features while keeping in mind the flow of traffic. The three main components to focus on are:
- The Wet Zone: This is where the shower or tub will be. It should have non-slip flooring and adequate room for safe entry and exit.
- The Vanity Area: The sink and mirror fall under this section. There should be enough lighting and space for storage cabinets or shelving.
- The Toilet Placement: It’s important to have enough clearance around the toilet and to place it in a discreet location if possible.
Balancing aesthetics with functionality leads to a comfortable and efficient bathroom. Remember, the goal of a good bathroom layout is to create a space that feels open and welcoming while meeting the needs of its users.

Choosing the Right Fixtures and Features
Selecting the right fixtures and features is crucial for a successful bathroom installation. Your choices will determine the bathroom’s functionality, comfort, and style.
Selecting Toilets, Sinks, and Tubs
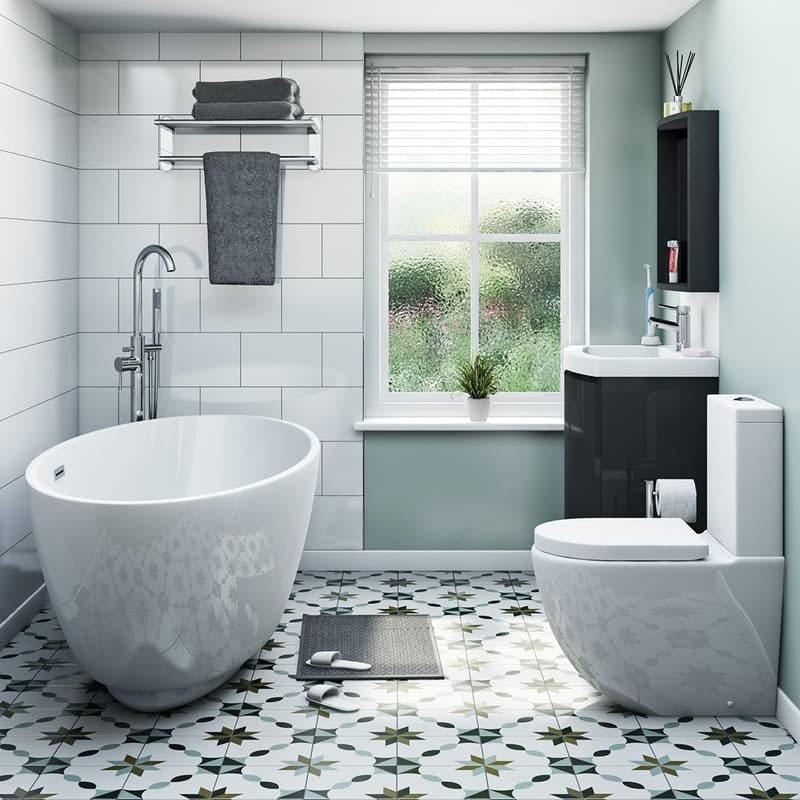
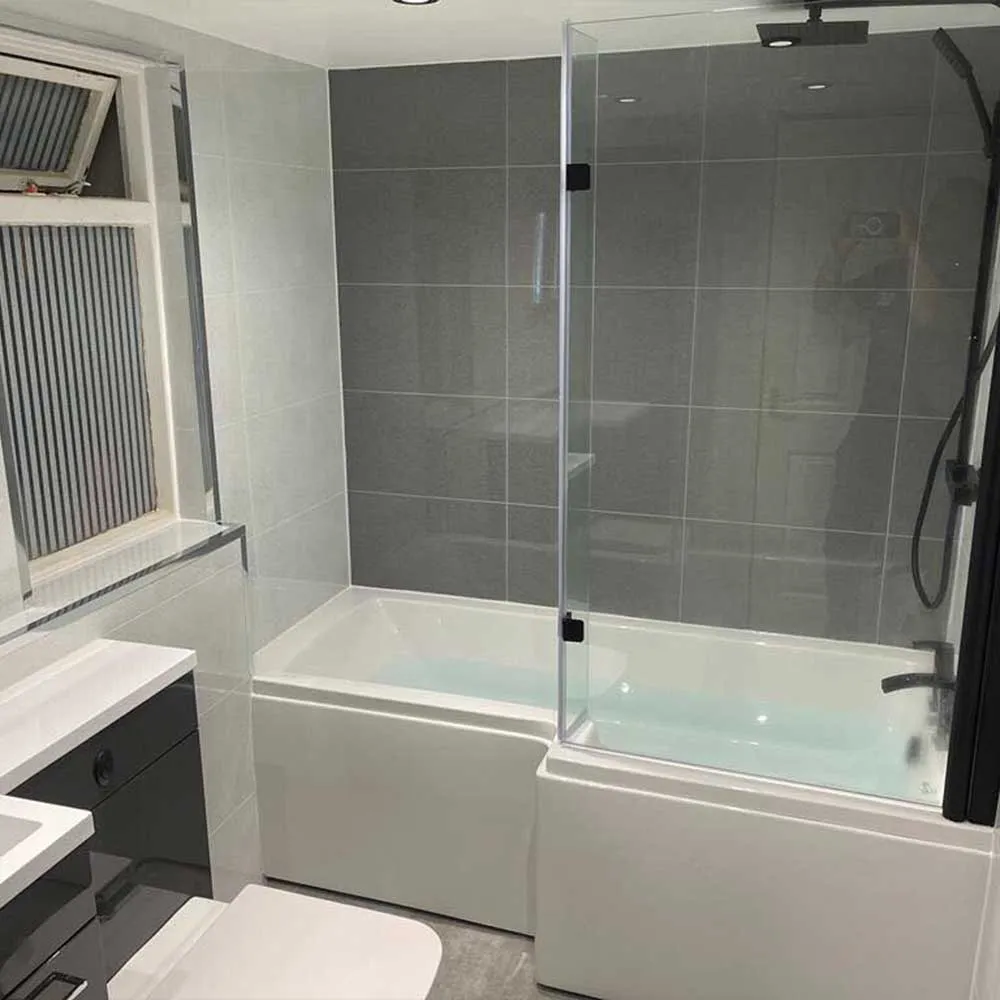
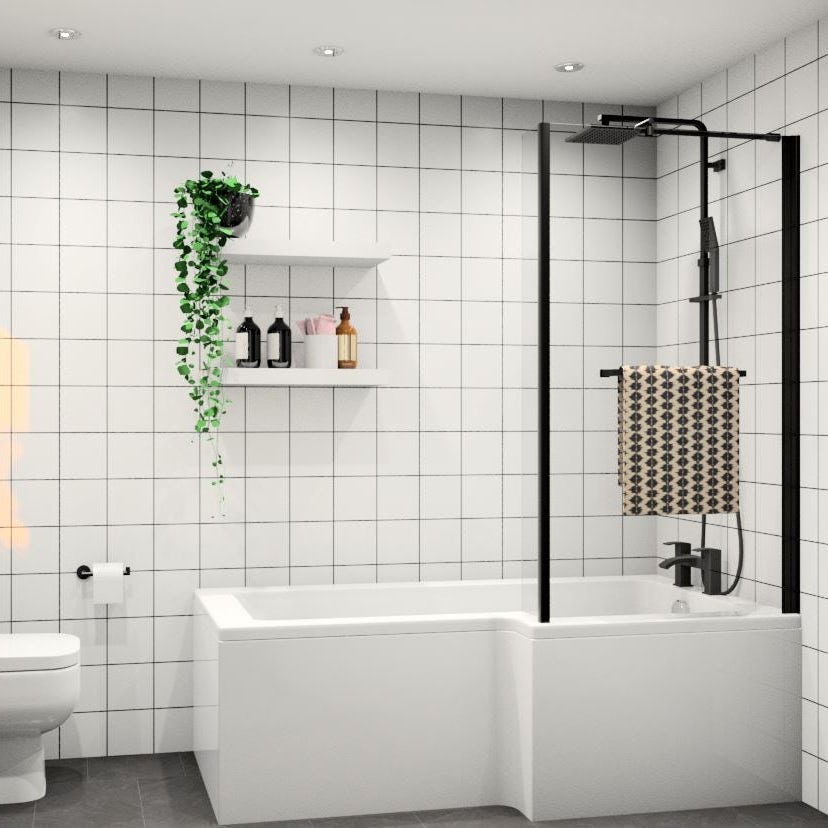
Before making any purchases, consider the size of your bathroom and your budget. For toilets, look for efficient flushing systems and comfort height models. Sinks come in various styles like pedestal, vessel, and undermount. Choose one that complements your decor and meets your needs. When it comes to tubs, think about the size, material, and type of installation such as freestanding or alcove. Remember to factor in the ease of cleaning and durability of the materials you choose.
Understanding Ventilation and Lighting Needs
Proper ventilation is essential to prevent mold and maintain air quality. Install an exhaust fan with adequate power for your bathroom’s size. Lighting is equally important for functionality and ambiance. Combine overhead lighting with task lighting around mirrors to eliminate shadows. Consider energy-efficient and waterproof lighting options to ensure safety and reduce electricity bills. LED lights are a popular choice for their longevity and variety of designs. By focusing on these essential aspects, you’ll create a bathroom that’s not only beautiful but also practical.
Preparing for Installation
Proper preparation is key to ensuring a successful bathroom installation. It sets the foundation for a smooth and efficient process.
Assessing Plumbing and Electrical Requirements
Before starting, it’s essential to evaluate the existing plumbing and electrical systems. For plumbing, check the condition of pipes and water pressure. Ensure that they can support new fixtures like showers and toilets. If you’re unsure about what to look for, consulting with a plumber can help identify potential issues.
For electrical requirements, safety is paramount. Confirm that the wiring can handle the load of new features, especially if you plan to install heated floors or high-wattage hair dryers. You may need to upgrade your circuit breaker or outlets. Contact a certified electrician to make necessary assessments and changes.
Waterproofing and Floor Preparation
Next is preparing the floors and walls to prevent water damage. Apply waterproofing membranes on surfaces that will encounter moisture. This step is crucial around showers, bathtubs, and sinks.
For floor preparation, make sure the surface is level and clean. It will support tiles or other flooring you choose. Use self-leveling compounds for uneven areas and remove debris for a secure fit. Take the time to do this properly to avoid future issues like cracking tiles or water leakage.
These preparatory steps are vital for a bathroom installation that lasts for years. They lay the groundwork for the next phase: installing your chosen fixtures and tiles.

Installation Best Practices
Proper installation ensures your bathroom’s longevity and efficiency. Follow best practices to achieve professional results.
Techniques for Tile Laying and Grouting
Tile laying requires precision. Use spacers to maintain even gaps between tiles. Apply adhesive evenly to prevent uneven surfaces. When grouting, fill the spaces thoroughly to avoid water penetration. Let the grout set before sealing it. Keep the work area clean to make the final aesthetic pleasing.
Ensuring Proper Fixture Placement
Fixture placement is crucial for a functional bathroom. Measure spaces accurately before installation. Align fixtures with plumbing connections properly to prevent leaks. Securely fasten each fixture to avoid movement and ensure durability. Test each fixture after installation to ensure proper operation.
Hiring Professionals vs. DIY Installation
When it comes to bathroom installation, you have two main routes: hiring professionals or tackling the project yourself (DIY). Your choice will significantly impact the installation process, the time it takes, and the overall quality of the finished bathroom.
Evaluating When to Call the Experts
Deciding whether to call in professional help depends on several key factors:
- Skill Level: Assess your own skills honestly. Complex tasks like plumbing and electrical work often require expertise.
- Time Availability: Consider if you have the time to dedicate to a renovation. Professionals can usually complete the work faster.
- Tools and Equipment: Professionals come equipped with the right tools. Without them, DIY can be challenging.
- Quality Assurance: Mistakes can be costly. Professionals ensure the job meets industry standards.
- Permits and Regulations: Navigating building codes and permits can be tricky. Experts are familiar with these regulations.
- Cost: While DIY might seem cheaper, unexpected issues can inflate costs. Experts can prevent such surprises.
In short, consider hiring professionals if the project is beyond your skill level, you lack the necessary tools, or you must adhere to strict codes. DIY is suitable for simpler tasks where you can confidently manage the job. Balance these considerations to make the right decision for your bathroom installation.

Final Touches and Quality Checks
After successfully navigating the complex process of bathroom installation, it’s essential not to overlook the final touches and quality checks. These last steps ensure the longevity of your bathroom and protect your investment.
Sealing and Caulking for Durability
One of the most important final steps in bathroom installation is sealing and caulking. This process helps to waterproof the room, safeguarding against leaks and moisture that can lead to mold and structural damage.
- Sealant Application: Use a quality sealant around areas exposed to water, such as bathtubs, sinks, and showers.
- Caulking Joints: Apply caulk to joints where fixtures meet walls, or where tiles meet other surfaces to prevent water seepage.
- Checking Seals: After application, check all seals for gaps or cracks, and ensure a smooth, even coverage for maximum protection.
These seals should be inspected regularly over time and touched up or replaced as necessary to maintain their protective barrier.
Conducting a Comprehensive Inspection
Finally, a thorough inspection is critical to identify any issues or imperfections that need to be addressed:
- Plumbing Check: Test all faucets, showers, and toilets for leaks and proper functioning.
- Electrical Safety: Ensure all lights, fans, and outlets are working correctly and safely.
- Tile Work Examination: Look over the tile work for any loose tiles or improper grouting that might need correction.
- Fixture Alignment: Verify that all fixtures are securely fastened and aligned.
- Door and Cabinet Operability: Check doors and cabinets to make sure they open and close smoothly.
This comprehensive inspection is vital for catching small problems before they become larger ones. With these final steps completed, your bathroom installation can truly be deemed a success.
